Multiple Plotly Dash apps with Azure AD authentication
If Plotly Dash with Azure Active Directory is what you are looking for, you have come to the right place! This post explains how you can deploy the repository to run a fully secured multi-page Dash app with Azure AD.
This post skips quite a few steps and assumes you have the knowledge to setup your Azure resources correctly. The repository with the full code can be found by following this link.
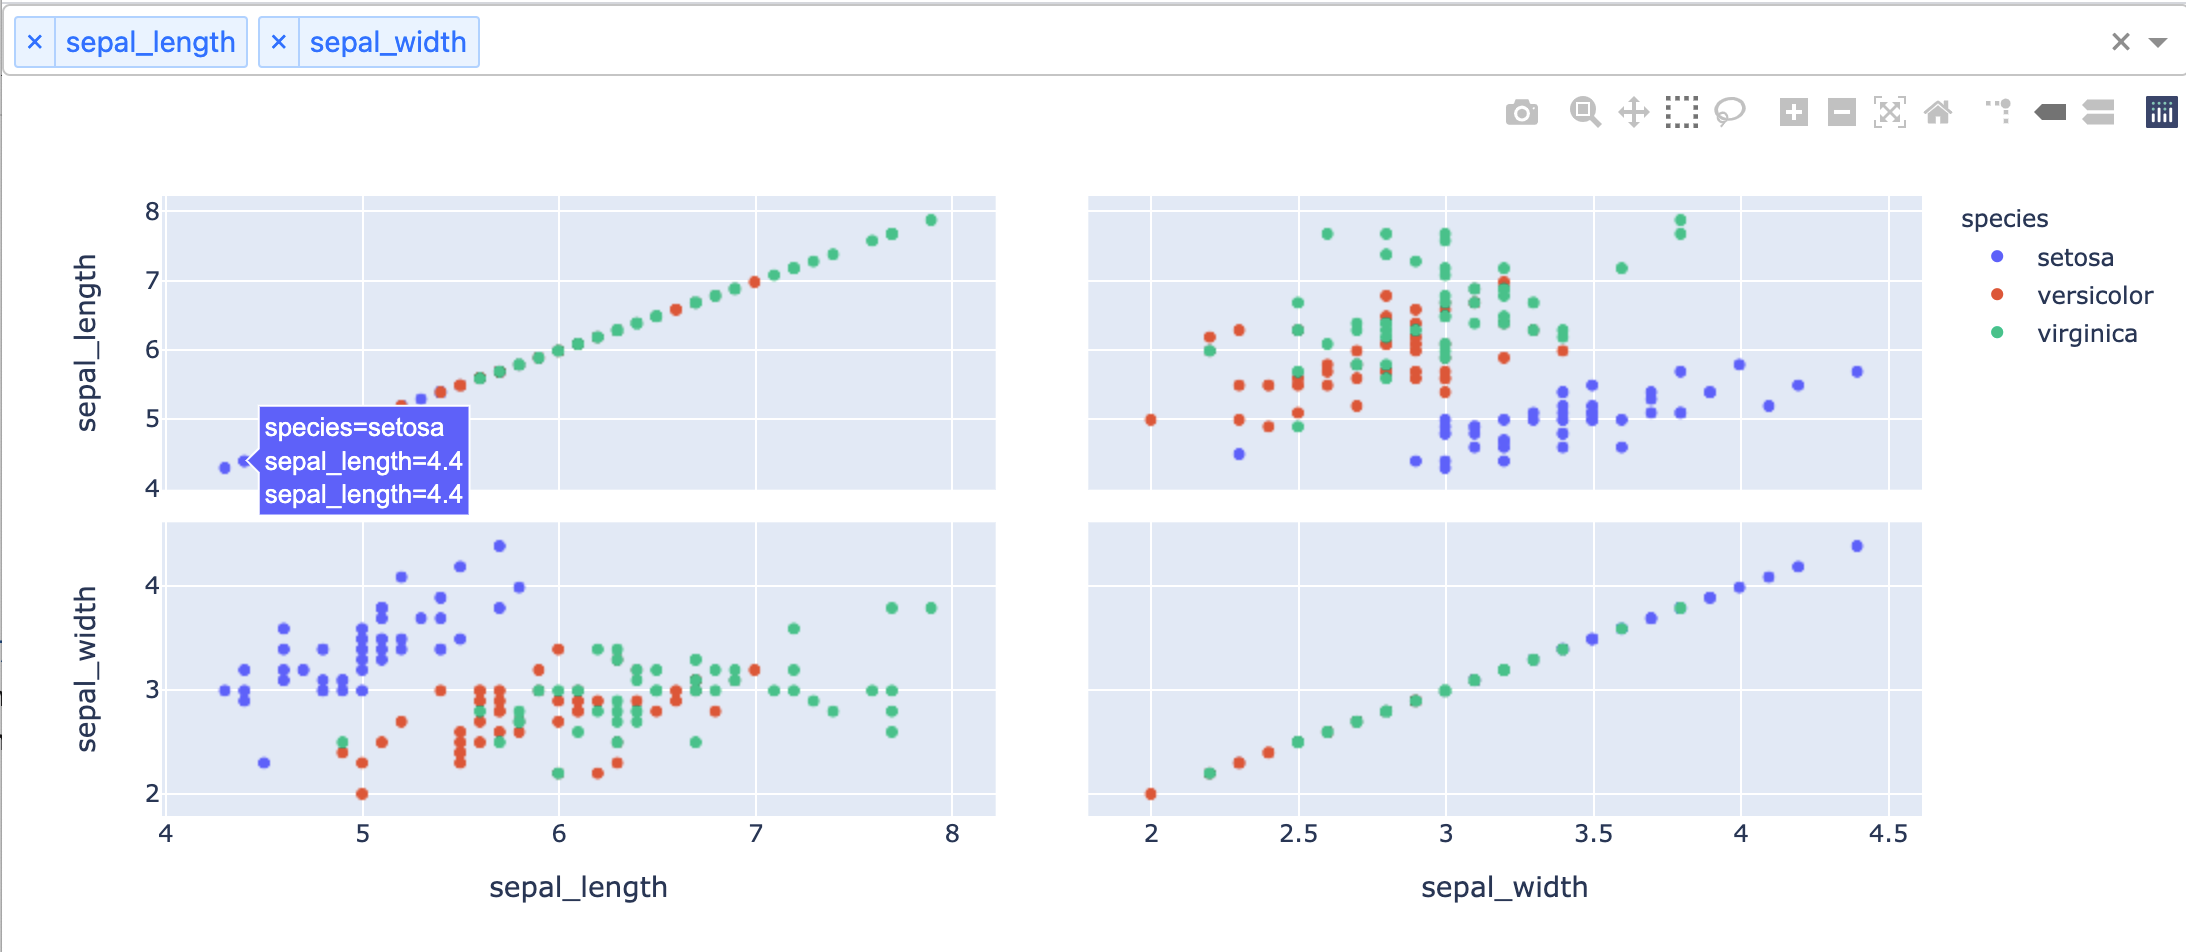
This repository contains an example of how you can host multiple Plotly Dash apps as one service in Azure. This enables you to quickly extend the application with new views without having to spend time on hosting and securing your service.
Azure Active Directory is used for authentication and securing the endpoints, which gives you the flexibility to easily add or remove access to individual users or groups. The repository also contains an example of how you can use managed identity to pull data from an Azure blob storage and present it to the end-user. By using managed identity, it’s fairly easy to link the application up with other Azure services like Cosmos DB, Service Bus and other data storage resources. This project does not require any local secrets as those are securely stored in an Azure Key Vault and loaded at run time.
To extend the application with a new view, just extend the list of views found in app.py:
dash_apps: List[DashApp] = [
    ExampleDashApp1(DASH_URL_BASE + "test1/", {"name": "Example Dash App 1"}),
    ExampleDashApp2(DASH_URL_BASE + "test2/", {"name": "Example Dash App 2"}),
    AzureDataExample(
        DASH_URL_BASE + "iris-data/",
        {
            "name": "Example Iris Data",
            "blob_storage": "https://.blob.core.windows.net",
            "container_name": "",
            "file_name": "iris.csv"
        },
        credential
    ),
    # Add another view here and it will automatically be added to the application menu
]
All values on the format `` need to be replaced with valid values.
How to use
Setup in Azure
This project requires that you have an Azure subscription and an Azure Active Directory tenant available.
Follow steps 1-2 from this guide to setup up the correct resources in Azure.
Open config.py and set the CLIENT_ID and AUTHORITY according to the values you got from Azure when following the guide.
In addition, it’s recommended to place the client secret in a key vault, rather than directly in the repo or somewhere else.
Use managed identity to access the secret both locally and when the application is deployed in Azure, this way you do not have to deal with any secret handling.
Create a key vault in Azure and add the client secret as a secret in the key vault.
Remember to give the application the correct access rights to access the key vault using managed identity.
Open config.py and replace the following values KEYVAULT_URI and SECRET_NAME with the URI to the key vault and the name of the secret.
This project assumes that a key vault is used and will not run properly without this being setup correctly.
This example limits access based on a role called Read.
If you want people to be able to access the API endpoint, you will have to give them this role in Azure (or modify the code to not check for it).
More information on how you can do this, can be found here.
Running the application
- Install poetry
- Navigate to the project folder and run
poetry installto create a virtual environment - Run the application by running
./run_dev.shand navigate tohttp://localhost:5000to view the web app
Style checking and formatting can be done by running poetry run pre-commit run --all-files.
When running the application locally, you might need to install the Azure CLI and run az login so that the application can use your local access token to login into Azure AD.
Other resources
This repo was inspired from this Medium Article and Microsoft’s Flask template for MSAL.

